
The Veneer Treatment Process: A Step-by-Step Guide From First Consultation to Final Bonding
There's a question that patients coming in for a veneer consultation ask second most often.
"How long does it take to get veneers?"
The answer varies by case,
but in general, it takes 3 to 4 weeks and 3 to 4 visits from the first consultation to the final bonding.
During this period, each step isn't just a simple procedure.
Each individual step determines the result and lifespan of the veneer.
Today I'll walk you through the entire veneer treatment process, step by step.
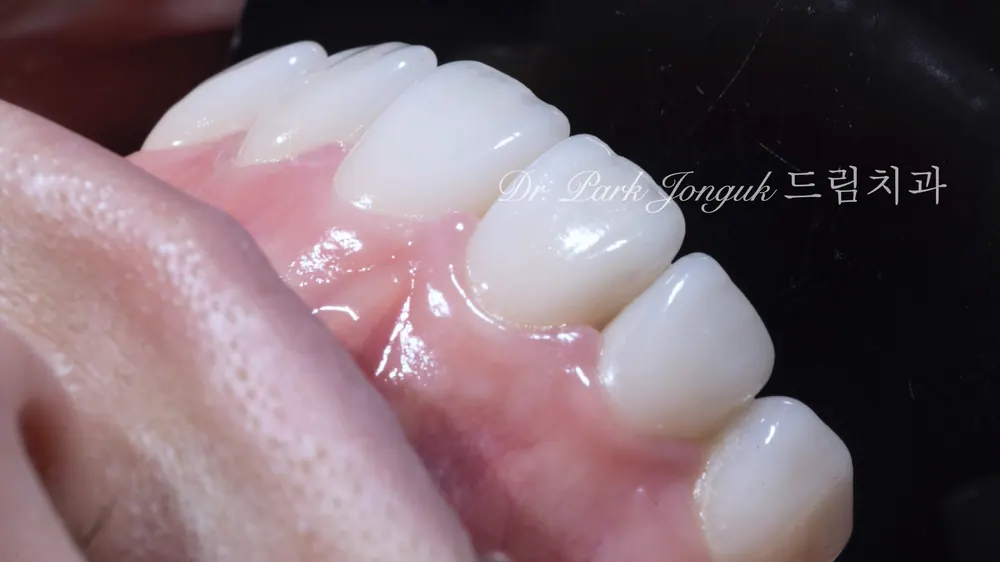
1. The Whole Process at a Glance
The standard total duration is about 3 to 4 weeks.
It can take longer depending on case complexity, or on additional treatment needed before the main procedure (such as gum care or partial orthodontics).
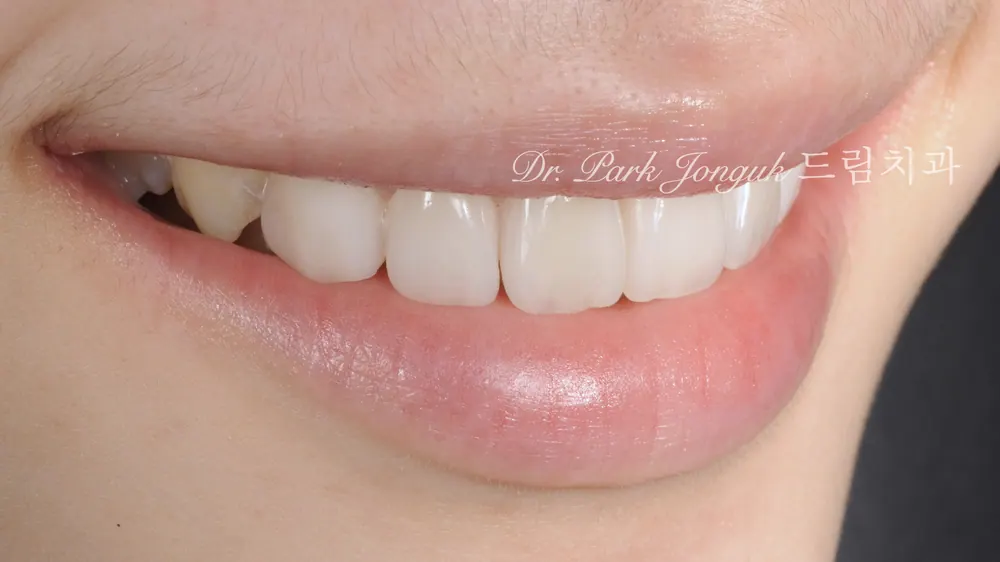
Step 1. First Consultation
This is the most important step, carried out during the first visit.
It's a time to fully listen to the result the patient wants (color, shape, alignment), their everyday habits, their occupation,
and any expectations or concerns they have about veneers.
This is also the stage where we review together what's possible and what's difficult,
and whether a different procedure might be more suitable.
From 20 years of clinical practice, there's one thing I consider more important than anything else here.
Whether the patient's expectations exactly match what's clinically achievable.
The larger this gap, the lower the patient's satisfaction after treatment.
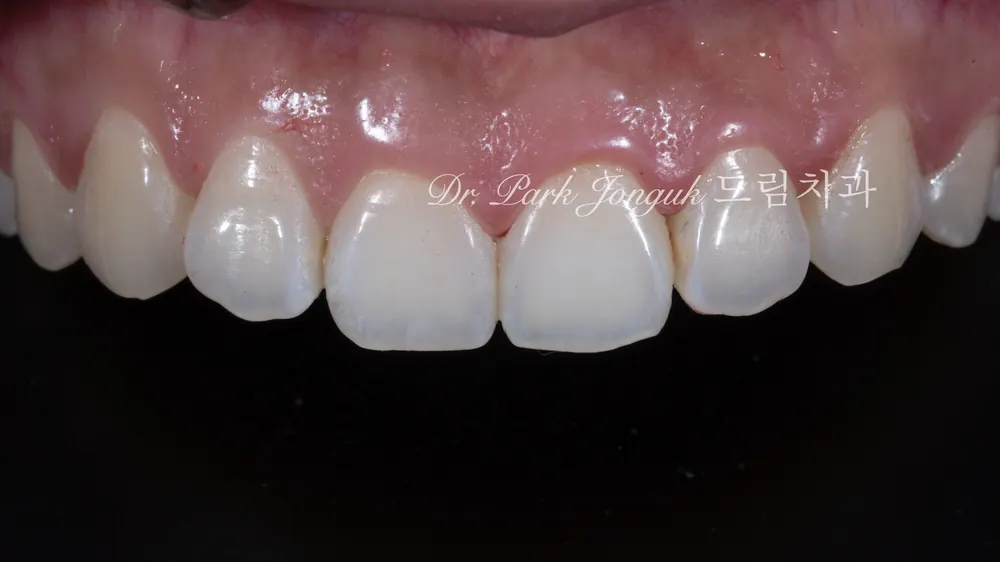
Step 2. Precision Wax-Up Diagnosis
These are the diagnostic items that must be checked before deciding on veneer treatment.
The basics are intraoral and facial photography, a panoramic X-ray, a periodontal exam, and bite analysis.
If nighttime teeth grinding is suspected, additional testing is carried out.
If malocclusion is also present, an orthodontic diagnosis may be needed alongside it.
If a patient proceeds straight to treatment without going through this diagnosis thoroughly, the likelihood of eventually needing a redo increases significantly.
These days I often come across veneer treatment being performed without any diagnostic process at all, and this is a deeply flawed approach. In veneer treatment, the precision wax-up diagnosis is the single most essential step.
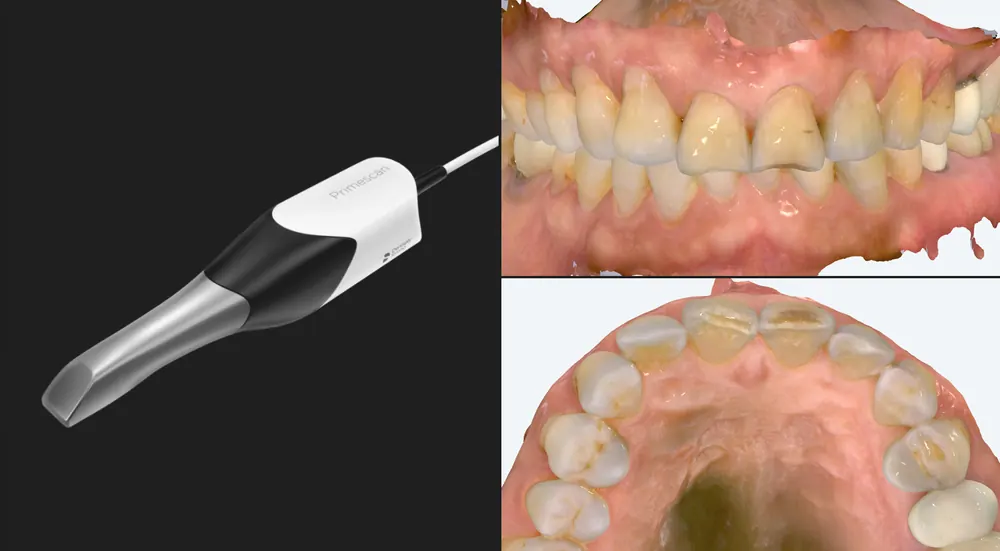
Step 3. Design and Simulation
This is the stage where the final result of the veneer is essentially decided in advance.
The color, shape, and length are determined by considering the patient's face shape, lip line, and harmony with the adjacent teeth.
With a digital simulation, you can preview what your teeth will look like after veneer treatment, overlaid directly on your own photo on the monitor.
If you'd like an even more accurate preview,
there's also an option to have a model made in advance and try it directly in your mouth at the temporary veneer stage.
Only when this step is carried out thoroughly
can you avoid the regret of feeling, after treatment, that "this isn't what I expected."
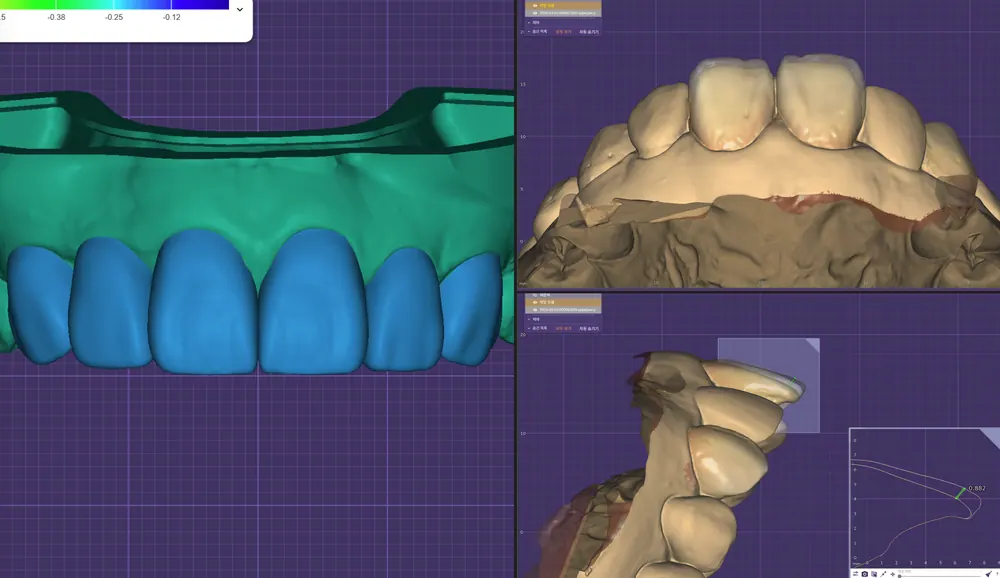
In this process, we perform precise diagnosis using Park's AES software, which we developed ourselves for diagnosing teeth. Patent pending.
Step 4. Tooth Preparation and Impressions
This is the step where space is created for the veneer.
The tooth surface is finely reduced by about 0.3 to 0.7mm.
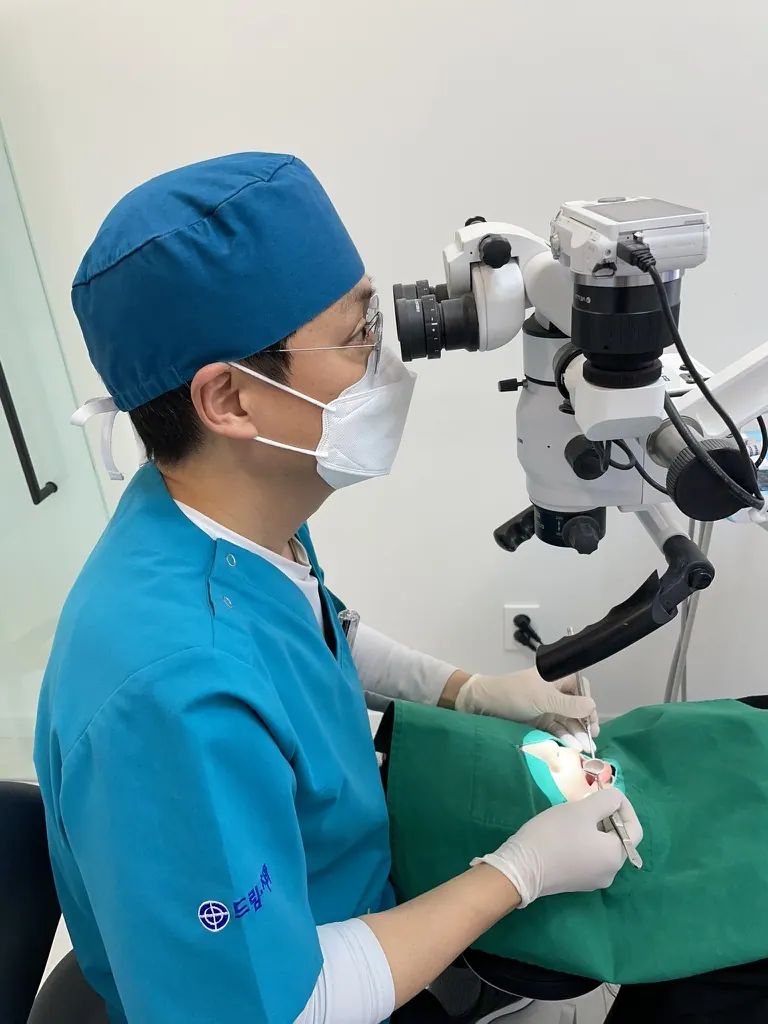
Using a microscope during this process is essential.
If too little is removed, the veneer looks too thick; if too much is removed, it places unnecessary stress on the natural tooth.
This is a step where skilled precision makes all the difference in the outcome.
After the teeth are prepared, an impression is taken, either with a digital scanner or using the traditional impression method.
This impression becomes the reference the dental lab uses to fabricate the veneer, so its accuracy is extremely important.
Step 5. Temporary Veneers
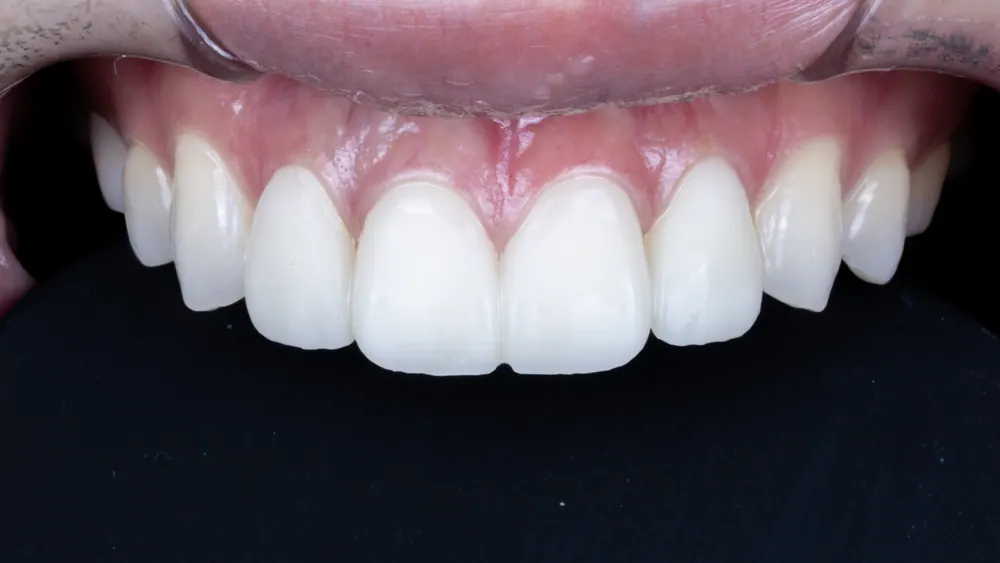
Temporary veneers are bonded on for the 1 to 2 weeks it takes the lab to fabricate the final veneers.
Temporary veneers aren't just there to fill the waiting period.
They let you experience the color and shape in advance, so if anything isn't quite satisfactory, it can be adjusted before final fabrication.
You can also check how the border between the gum and the veneer feels,
and whether it blends naturally with your pronunciation and smile, at this stage.
If you move on to the main procedure without reviewing this stage thoroughly,
you risk the inefficiency of having to remake the final veneer if you end up unhappy with it.
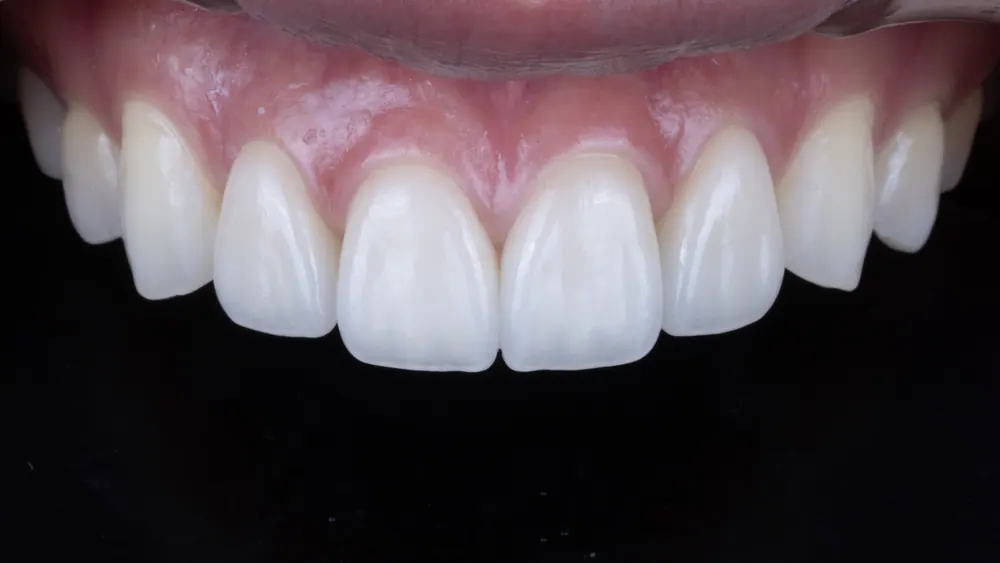
Step 6. Final Veneer Bonding
This is the main procedure step.
The temporary veneers are removed, the tooth surface is thoroughly cleaned,
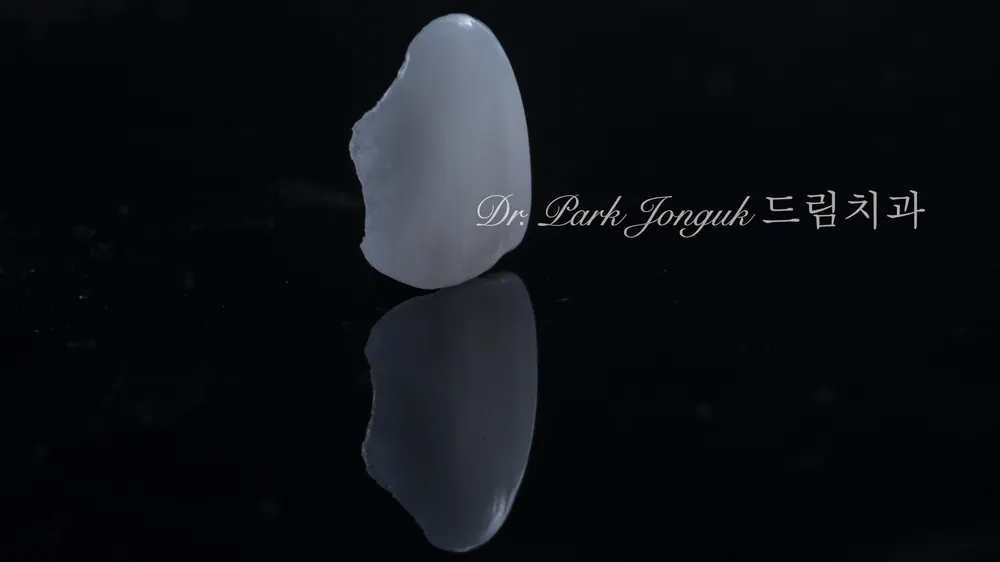
and the final veneer is bonded precisely into position.
The bonding agent and bonding technique used here determine the lifespan of the veneer.
Every detail — surface treatment, bond thickness, curing light exposure time, and margin finishing — accumulates to create the final result.
Once bonding is complete, the bite is precisely adjusted.
The upper and lower teeth need to meet naturally so that no undue stress is placed on the veneer.
Step 7. Aftercare and Regular Checkups
The 1 to 2 weeks right after bonding are an adjustment period.
Some patients may temporarily feel sensitivity or gum tenderness, which usually resolves within 2 weeks.
The first regular checkup takes place 3 months later, followed by checkups every 6 months after that.
These regular checkups are one of the biggest factors influencing the lifespan of the veneer.
Frequently Asked Questions (FAQ)
Q1. Is there pain during the procedure?
The procedure is performed under local anesthesia, so there's almost no pain during treatment.
That said, you may feel mild sensitivity for 1 to 2 weeks after bonding, and it usually resolves over time.
Q2. Can I go about my daily life with just the temporary veneers?
Yes, you can.
You should be careful with hard foods, but eating, talking, and smiling aren't affected.
Temporary veneers can also be made in a natural-looking color.
Q3. Are all the veneers bonded at once?
They're usually bonded at the same time.
This is to ensure consistency in color and shape.
That said, in some cases they may be done in stages depending on the case.
Q4. If I change my mind partway through, can I stop?
You can stop at any point before the tooth preparation stage (first consultation, comprehensive diagnosis, design).
But once the teeth have been prepared, there's no going back to the original state, so it's important to review everything thoroughly before that point.
Q5. Are photos taken during the procedure?
Clinical photos are taken for diagnostic and treatment records.
They are never shared externally without the patient's consent.
In Closing
A veneer isn't a single procedure — it's a process made up of seven stages.
Because each stage determines the outcome of the next, none of them can be treated carelessly.
There's a phrase that comes to mind most often from my 20 years of clinical practice.
"A good veneer isn't made at the final bonding stage — it begins at the very first consultation."
This is the single most important thing to keep in mind when deciding on veneer treatment.
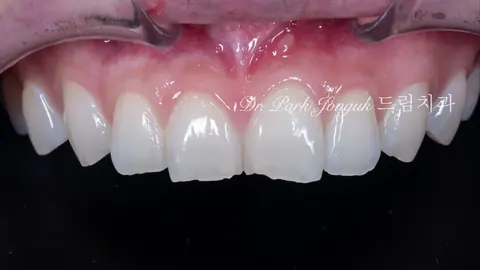
This article is a clinical note written by Dr. Park Jonguk of Dream Dental Clinic, Gangnam; the original was published on his blog. The photographs shown are real cases he treated. Results vary with each patient’s condition, and every procedure carries the possibility of individual variation and side effects.
Quick Consult
Request a Callback
Leave your number and we will call you back during clinic hours.
Request Received
We will contact you during clinic hours. For urgent matters, please call +82-2-3448-0028.